Showing posts with label Wedding cards. Show all posts

Sunday, July 20, 2014

A BEACH WEDDING PART 1 - THE GAZEBO


Hola!

Hoy les muestro un gazebo que le preparé a una amiga porque necesitaba un regalo para una boda.  Cuando me dijo que la misma iba a ser en la playa, de inmediato pensé en el que hice hace un tiempo que pueden ver >>aquí<<  El mismo es de un file de A Little Hut que pueden adquirir >>aquí<<.

Hi!
Today I am sharing with you a Gazebo I made for a friend as a gift she needed for a wedding.  When she told me the weeding was going to be at the beach, I thought about >>this little gazebo<< I made a while ago.  It’s made with a file from A Little Hut you can find >>here<<.

Si deseas ver fotos de las diferentes etapas del proceso te invito a que visites mi página de Facebook JOANSCRAPS bajo el álbum CONSTRUCCION DE UN GAZEBO.  En el mismo coloqué las fotos mientras iba armando el mismo y muestro como es que hago para que el papel luzca como madera.

If you want to see pictures of the different stages in the creative process of this piece you can go to my Facebook Page – JOANSCRAPS and look under the album named CONSTRUCCION DE UN GAZEBO.  I posted several pictures of the process and how I made the paper look like wood.

Aquí unos detalles / Here are some details:

Hice una búsqueda en Pinterest de gazebos decorados para bodas en la playa.  Vi que en algunos colgaban arreglos de Hortensias y diversas decoraciones colgantes.  Así que salí corriendo a comprar los materiales para decorar el gazebo.  Le añadí la cortina en la entrada y las flores guindando del techo.

I made a search in Pinterest for beach wedding gazebos.  I saw the some of them had flowers and other designs hanging from the ceiling so I decided I wanted mine to have some too.  


Si es una boda en la playa pues necesitamos arena, caracoles  y estrellas de mar ¿verdad?
If it is a beach wedding we need sand, seas shells and sea stars too... right??


Y solo porque me gusta mantener las cosas sencillas, añadí unos detalles alrededor del gazebo.... (perdón que en la foto se me escaparon unos hilitos de pega caliente que no removí)
And just because I like to keep it simple I added some decoration around the gazebo... (Sorry the in the picture there are some glue filaments from the hot glue gun that I didn't removed).


 Y aquí la foto del gazebo / and here the picture of the gazebo:


Espero que les haya gustado y sobre todo que les inspire a crear algo lindo hoy!!
I hope you liked it but most of all that you get inspired to create something today!!

Materials:

 American Craft:  Kraft Paper & White Paper
Lace & Tullé
White ribbon
Pearls
Liquid Pearls from Ranger
Polymer Clay and 
Liquitex Gel Medium
Golden Coarse Pumice Gel
Brown Ink in two different tones (any brown can do)

Tools:

Latina Crafter stamp set:  Para Siempre
File Gazebo from A little Hut
Distress Embossing Plate from Sizzix
Silicone Molds for the polymer.  I used this 
Hot glue gun

Thanks for your visit!!


Sunday, February 16, 2014

WILL YOU BE MY ...


Hola!!

Hacen días terminé este proyecto y al fin lo puedo compartir con ustedes.  Se trata de una invitación muy original.  Una amiga se va a casar y me pidió que la ayudara a preparar una invitación para su séquito de boda.  Ojeando en el santo grial de la creatividad al cual llamamos Pinterest, nos encontramos con esta cajita que nos sirvió de inspiración. 

Hi!!

I finished this project a few days ago and finally I can share it with you.  It's a very original invitation.  A friend of mine is getting married and asked me to help her design a cute invitation to ask her friends and family to be part of her wedding.  Browsing through the Oh So Mighty Pinterest we found this idea and fell in love with it.  


http://www.contemporarybride.com/bridalblog/7-diy-ways-to-ask-will-you-be-my-bridesmaid/


Usando los colores y estilo de la boda así quedó mi cajita.

So I adapted it to the wedding colors and style and here is the final product.


Una vista del tope de la caja. / A view of the box top.


Al abrirla, el yute permanece en su lugar ya que lo aseguré pegandolo debajo de la flor.

Once open, the jute stays in place since I secured it with the flower.


Y aquí el interior de la caja  /  And here is the interior of the box


A mi me daría mucho trabajo decir que no ante una invitación tan original... ¿no crees?  Lo mejor es que a mi amiga le encantó lo que me dió mucha satisfacción.  

I will find it very hard to say no once I see such a great invitation.  I was so glad that my friend love it as much as I do.


Ahora a esperar que llegue el momento de preparar las invitaciones.
.
And now to wait for the moment when we start preparing the wedding invites

Here is the recipe:

American Craft cardstock:  
White for the box 
Grass, Carrot and Raspberry for the flowers and leaves.

Solar white Neenah cardstock for the inside of the box.

Stamps:
TAWS - Good Point
Lawn Fawn - Sally's ABC
The Heart is from a Stampin Up Retired Set I have since forever... :)

Dies and SVG Files:

The box is from A Little Hut's Christmas Kit .  I re-sized it to make a 2" cube box.
And old mini butterfly punch from Creative Memories.

Ink:  

Memento Black 
Hero Art Shadow Ink in Green Hills, Butter Bar, Bubble Gum and Orange Soda.

Other:

May Arts Jute in Natural color.
Miscellaneous buttons from my stash.
Liquid Pearls in Butterscotch
The text and names were designed in Photoshop and printed in black.


Gracias por la visita!!  /  Thanks for your visit!!

Sunday, November 17, 2013

AN ORIGINAL MONEY CARD

Hola!!  /  Hi!! 


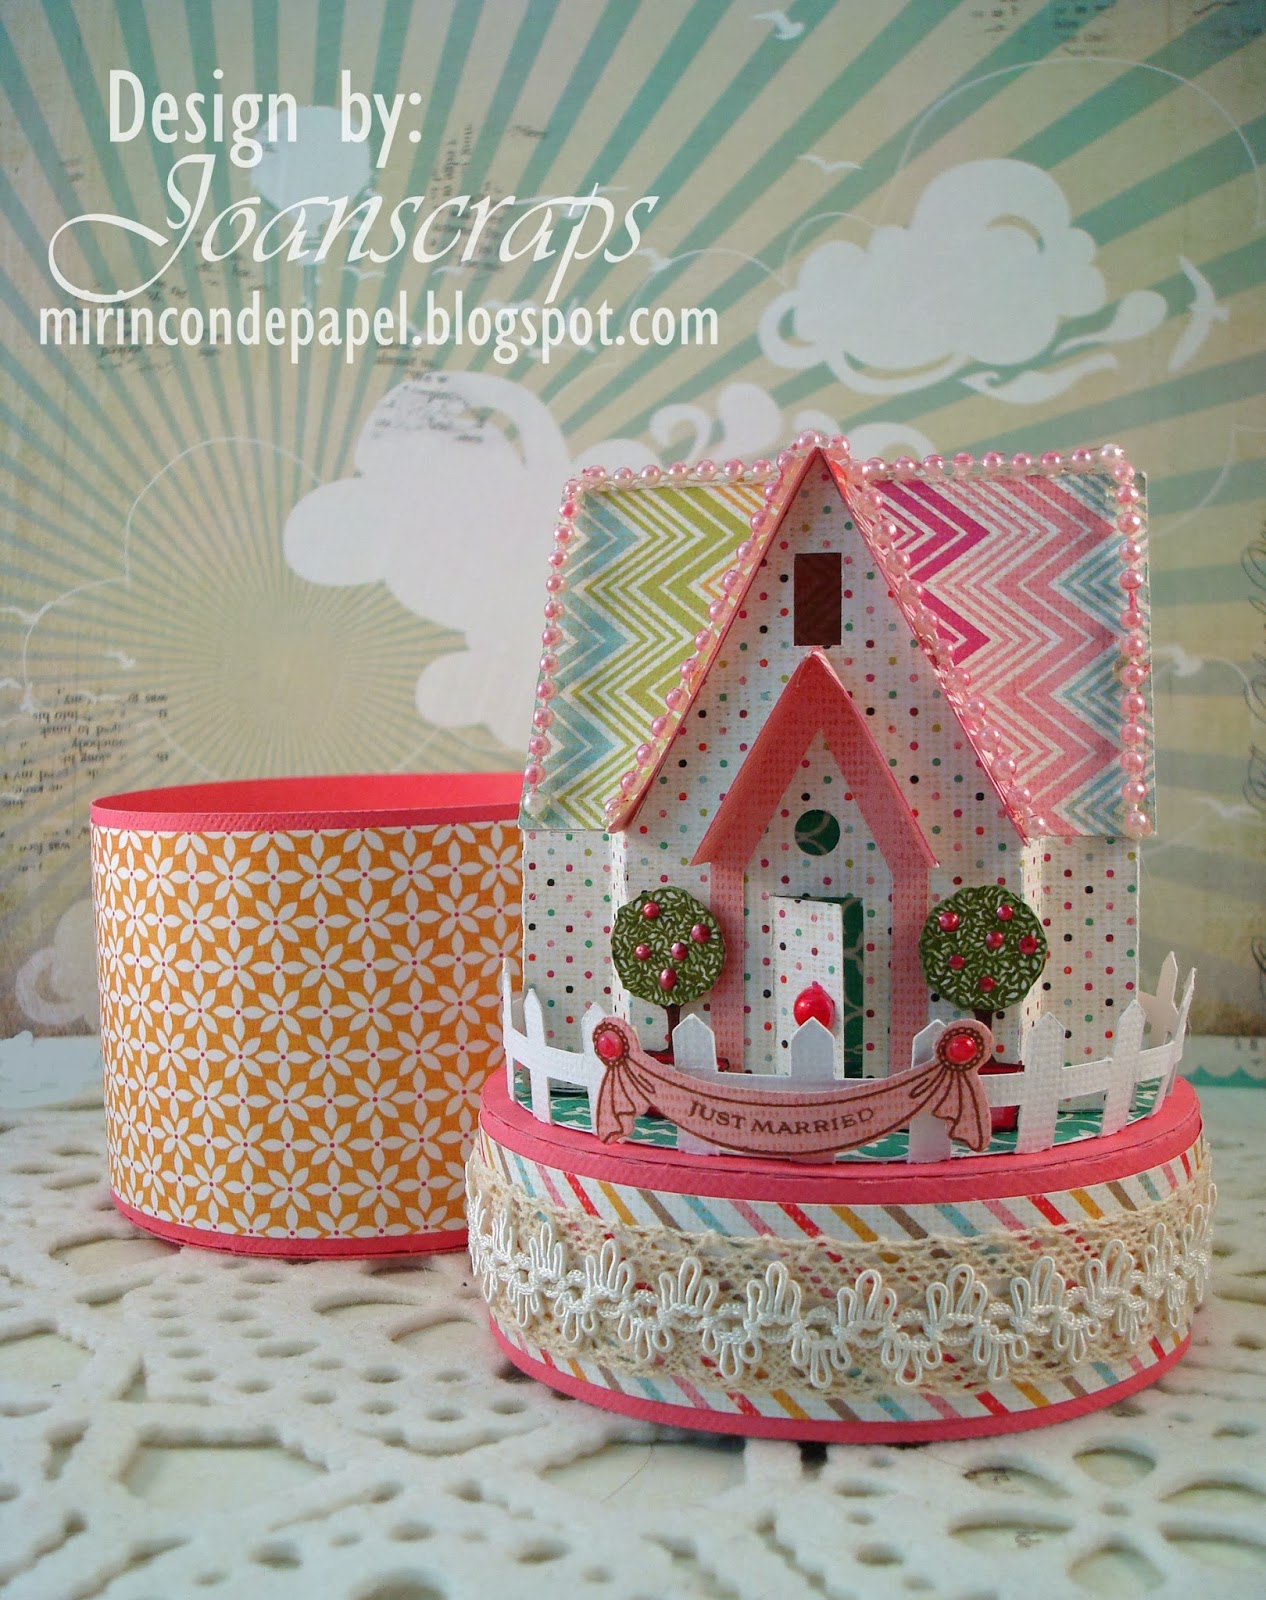
Hoy les tengo una cajita que preparé para unas amistades.  La misma es para obsequiar dinero a unos novios en su boda.  Cuando me pidieron una tarjeta porta dinero enseguida les pregunté… ¿Pero por qué una tarjeta?  Eso lo hace todo el mundo.  ¡Vamonos originales!  Y haciendo uso del kit Santa’s Village de SVG Cuts me di a la tarea de crear esta casita.


Today I am sharing a box to be used as a money holder for a wedding gift.  When my friends asked me to make them a money card I told them if they trusted me to make something different but equally effective.  They did and this is the result.  To make the box I used the Santa’s Village kit from SVG Cuts.

Aquí unas fotos detalladas / Here are some pictures with the details:

El banderín y los arbolitos son de un set de Paper Trey ink que resultó ser del tamaño perfecto para decorar la casita.

The banner and topiaries are from a Paper Trey Ink set.  They have the perfect size to decorate the house.


Pinté las perlitas con Copics para atenuar un poco el efecto.
I painted the pearls with Copics to attenuate their effect.


Aquí la cajita abierta.
This is the box once opened.


En lugar de crear una tarjeta aparte que acompañara la caja, decidí hacer unos tags para que los que estén haciendo el regalo puedan colocar un mensaje para los novios.

Instead of making a card to go with the gift, I made some tags where the givers can place their messages  for the bride and groom.


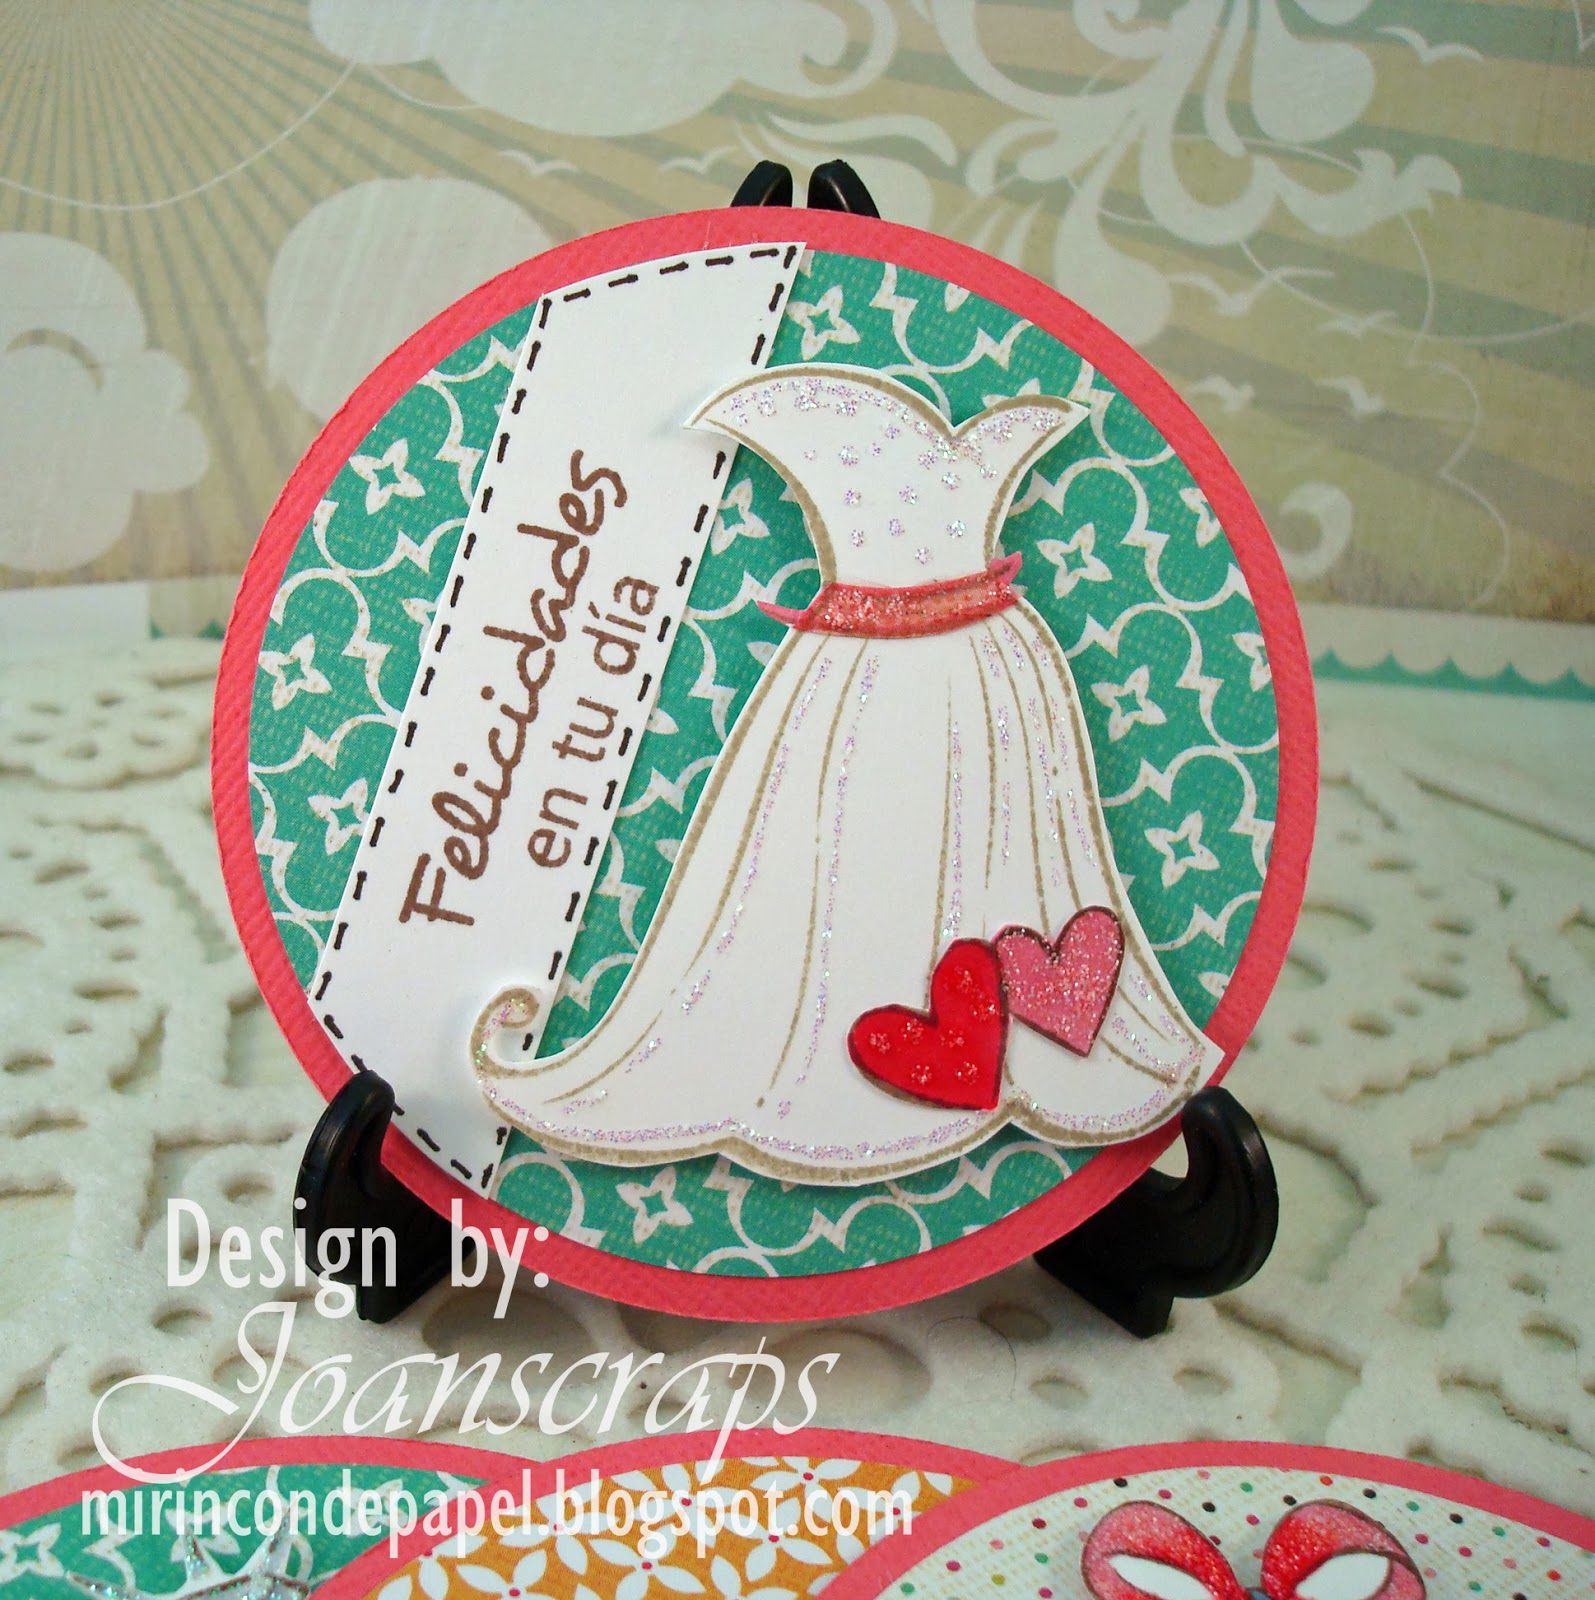
Los sellos de las imágenes son de Lawn Fawn y los mensajes son de Latina Crafter.
The images are from Lawn Fawn and the sentiments from Latina Crafter.


Y finalmente la cajita completa!!
And finally the box!!


Y aquí detallo todos los materiales y herramientas que usé.

And the recipe:

Digital file:

Papers:

American Craft cardstock - Lipgloss and White
Basic Grey DP - Knee Highs collection
Neenah Solar white (for the tags)

Stamps:

Latina Crafter:  Feliz Dia and Felicitaciones

Other:
Lace and ribbon from my stash
White pearl strings
Liquid Pearls - Rouge color
Copics markers
Half Pearls
Stickles - Crystal color

Lots of love!!


Espero que les haya gustado mi cajiota y que les haya inspirado a crear algo hoy.

I hope you liked my box and it inspired you to create something today.


Monday, February 15, 2010

A Wedding Chapel


Esta es mi última tarjeta para el reto de Caardvarks. Para la misma utilicé una imagen digital. Para los colores me inspire en el reto de Embelish Magazine. Me encanta como luce la tarjeta pues se ve bien colorida y alegre, perfecta para unos novios jóvenes. En realidad a esta tarjeta no le hice ninguna técnica especial. Solo pinte la imagen con mis Copics y le añadí rhinestones para que tuviera mas vida.

This is my last card for the Caardvarks Challenge. I used a digital image for this one. I use no particular technique, just painted the image with my Copics and added rhinestones. Still I love how it looks. The colors are very bright and fun, perfect for a young happy couple.

The sketch is from I {Heart} to stamp challenge. Love the sketch and the challenges for this month are juste great!


Este es el interior de la tarjeta / Here is the interior of the card


Espero que hayan disfrutado del día libre. Yo de seguro lo hice, descanse, lave ropa y jugué con mis gatitas y mis papeles….Que mas se puede pedir?

I hope you enjoyed your Holiday; I rested, did the laundry and played with my cats and papers…what else one can ask for?

A Beautiful Bride


Aquí les muestro otra tarjeta que hice para el reto de Caardvarks. Corte la muñequita utilizando un file de Myscrapchick.com. Repuje el traje utilizando dos folders diferentes para darle más dimensión y textura. Luego, le rocíe Glimmer Mist en perla para que tuviera brillo. No le puse sentimiento afuera pues quería que resaltara la novia y no quería que la tarjeta se fuera a sobrecargar demasiado.


Here I show another card made for the Caardvarks Challenge. I cut the bride using a file from Myscrapchick.com. I used two different embossing folders for the dress in order to give it more texture and dimension. Then, I sprayed some Glimmer Mist in Pearl color to give shine to the dress. I didn’t add a quote to the front of the card since I wanted the bride to be the focal point and to avoid distraction from it.


Aqui les muestro el interior de la tarjeta.


Here is the interior of the card.


Gracias por la visita!

Forever and Always

Buenos días - Hi

Hoy estoy en mi casita y mientras lavo la ropa estoy terminando unos cuantos retos que tenía empezados. Así que hoy van a ver dos o tres entradas diferentes ya que cada reto lo voy a estar mostrando en su propia entrada. Dicho esto ahora pasamos a la parte que nos gusta.

Today I am here in my home doing laundry and finishing a few challenges. I will be posting them separately in order to submit them in an organized way.

Melissa Phillips ha comenzado una serie de retos en su blog basados en fotografías. Aquí esta la foto de esta semana.

Melissa Phillips has started a series of challenges based on photographs. Here is this week pic.


La combinación de colores del reto de esta semana me pareció perfecta para una tarjeta de bodas. Dado que también estoy participando en el reto de Caardvarks pues que mejor cosa que usar esta fuente de inspiración para seguir creando tarjetas de boda. Aqui esta mi tarjeta.

The color combination immediately made me think about a wedding card. Since I am also submitting cards for the challenge at Caardvarks blog, I decided I was going to double play with this inspiration. Here is my card.


Para esta tarjeta comencé estampando unos Damascos con tinta blanca sobre el papel azul. Luego estampe en los cuadros verdes los bordes. La flor la corte utilizando SCAL, mi Cricut y un file de svguts.com. Una vez cortada la flor use PearlEx en tono perlado para cubrir darle el brillo a la flor. Para hacerlo hice una mezcla de agua, PearlEx y gum arabic que es un tipo de fijador o pegamento. Luego pegué la flor sobre un circulo de scallops que corté utilizando un Nestability y le puse glitter azul en el borde.

I started stamping a damask over the whole front of the card with White ink. Then I stamped in green a damask border on each of the little squares. I cut the flower using my Cricut, SCAL and a file from svgcuts.com. After the flower was cut, I painted it with PearlEx using a solution of water, gum Arabic and PearlEx. This gave a wonderful shine to the flower. I adhere the flower to a scalloped circle that I cut using a Nestability and used blue glitter for the border.


En el interior imprimí el mensaje y estampé los bordes para darle continuidad a la tarjeta. Encontré este site donde puedes encontrar mensajes para el interior de tus tarjetas. Me parece súper práctico ya que hay muchas veces en las que necesitas algo que colocar en una postal y la inspiración no llega.

I found a nice quote at this site and printed it out and stamped the same corner as in the front squares to give a nice finishing touch to the inside of the card.


Hope you like it, thanks Melissa for this wonderful inspiration.

Tuesday, February 9, 2010

A wedding Card


Hola,

En estos días he estado bien activa porque estoy participando de varios retos y haciendo par de cositas que tengo en mente. Para el reto de hoy en Papertrey, hay que hacer una tarjeta utilizando cualquiera de los colores combos que ellos tienen disponibles. Yo escogí el de Betsy, me encanto para hacer una tarjetita de bodas. Decidí hacer la tarjeta de bodas para participar también en el Challenge de Cardvarks donde te retan a crear tarjetas de boda. El premio seria salir publicado en la revista Cards…suena interesante verdad?

Aquí esta mi tarjeta, para la misma utilicé un stamp digital de Pink Peticoat, glitter, rhinestones, cintas, pintura acrílica botones mi Cricut con un file de SCAL y por supuesto mis nuevos Copics.

Que tengan un lindo día.

Hi,

WOW! These past days have been very active since I’ve been participating in Papertrey anniversary challenges. Today’s challenge is to create a card using one of the color combos available. I decided to use for this card Betsy’s combo. I liked it a lot for the wedding card I was planning to make. I am also posting this card over at the Cardvarks challenges which consist of making a wedding card..The prize? Being published in Cards magazine isn’t that enough motivation??

So here is my card, to make the base and frame I used my Cricut, and the image is a digital stamp from Pink Petticoat. I also used glitter, rhinestones, buttons, ribbon and acrylic paint.

Have a great day!